So, you’ve added new heads, the cam, you have the intake, and maybe some nitrous to top it off. But what’s the point if you’re still running your stock clutch on your Fox Body Mustang?
One thing is for sure; with all that power you wont be running that stock clutch for long. Having too much power might not break your clutch right away, but it may cause it to slip, and that will limit how much power you can actually transfer to the pavement.
Fortunately, today’s aftermarket offers many upgraded replacement clutches for Foxbodies. These range from easy-driving but better grabbing clutches, to clutches that will grab so fast they act like an on/off switch. Better yet, a clutch is not hard to replace, and it can be done on your garage floor, with a few jacks, in only a few hours.
This Tech Tip demonstrates the process of swapping the clutch on 1989 Mustang Fox-Body. Follow the simple steps shown here to find out just how simple it can be to swap your own clutch.
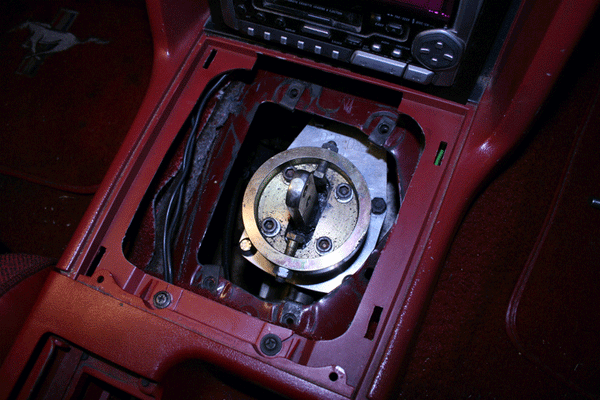
Disconnect your negative battery cable before starting this job. Place the transmission in neutral, remove the shift knob, shifter boot, plate, and the top of the shifter.
Find more Tech Tips like this in the book: FOX BODY MUSTANG RESTORATION 1979-1993
Learn everything you need to know about the Fox Body Mustang by getting your copy here!
SHARE THIS ARTICLE: Please feel free to share this article on Facebook, in forums, or with any clubs your participate in. You can copy and paste this link to share:
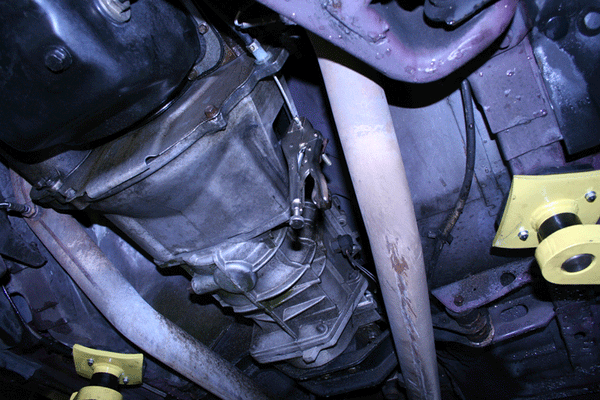
Remove the clutch cable from the clutch fork. Simply pulling up on the clutch pedal, giving the cable slack, and then pulling the cable out can do this.
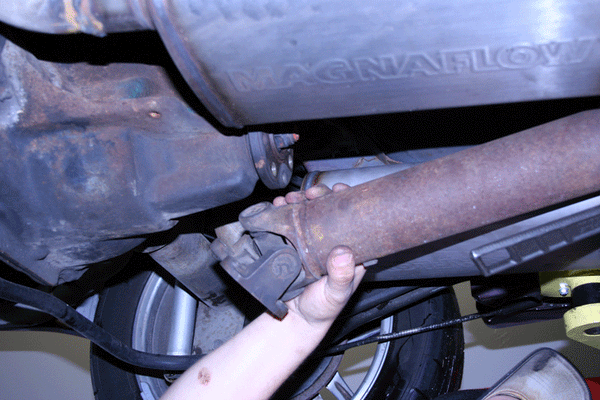
Remove the drive shaft by removing the four bolts holding it to the rear-end. After the bolts are removed, lower the back end and slide the front yoke out of the transmission.
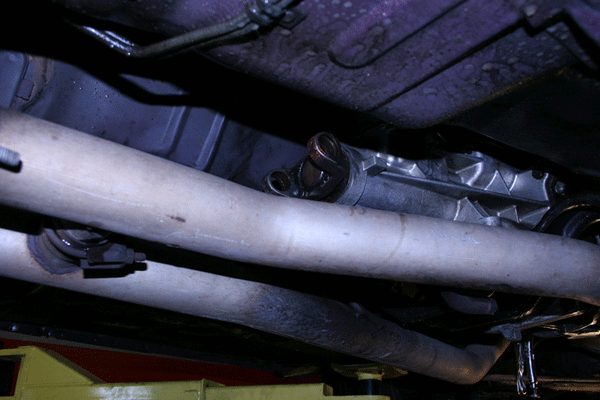
To eliminate transmission fluid leakage, you may want to use a separate/old yoke to “plug” the transmission. You also can minimize the amount of fluid loss by keeping the transmission as level as possible.
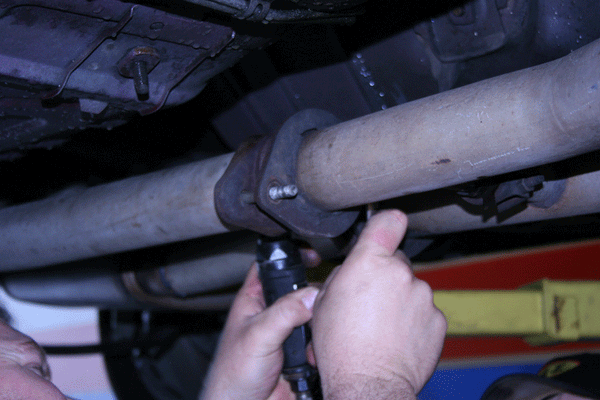
Remove the bolts on the H-pipe where it connects to the cat-back. Then remove the bolts connecting the H-pipe to the headers and disconnect the O2 sensors to free up and remove the H-pipe.
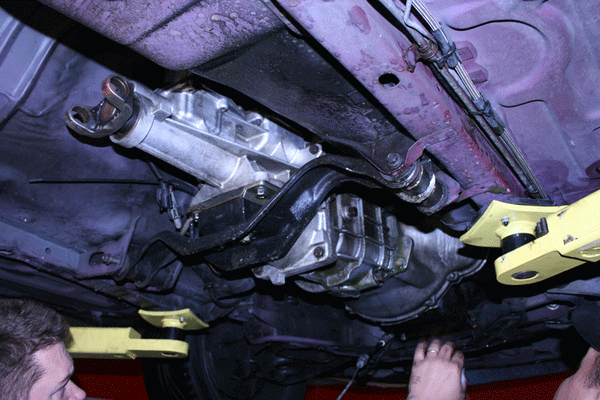
The exhaust should be out of the way now.
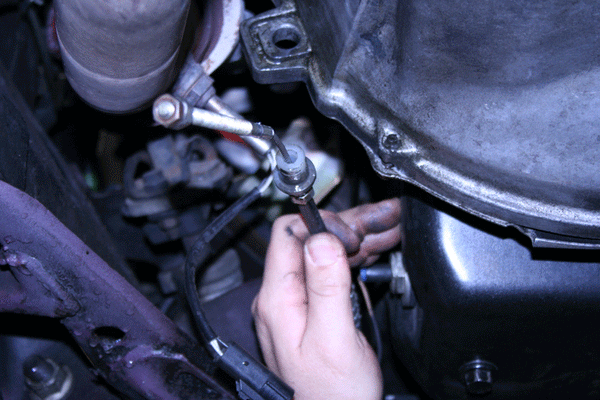
Remove the clutch cable from the bellhousing. Remove the clip that holds the clutch cable in place and it will then slide out.

Remove the lower inspection plate.
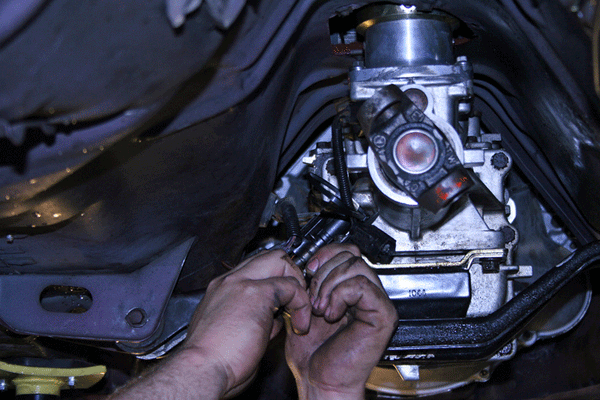
Remove the speedometer cable.

Remove the two bolts holding the starter to the bellhousing and slide the starter out of the way.
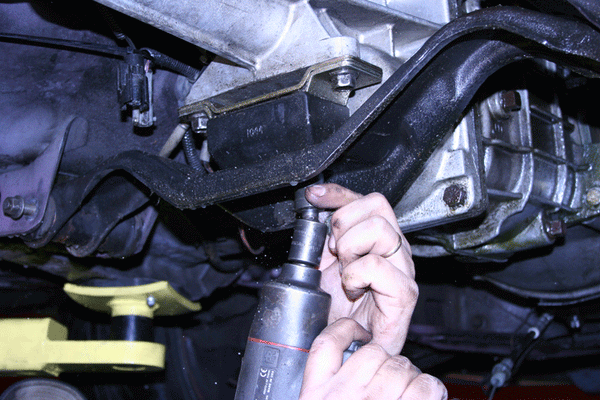
Remove the transmission mount bolts. Remove the transmission crossmember nuts. You can leave the bolts in until you are ready to drop the transmission.
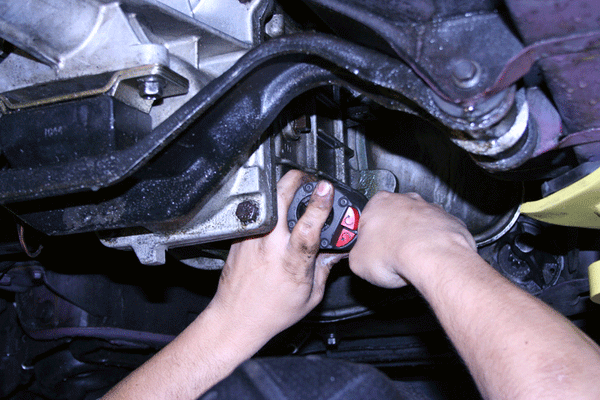
Remove the four bolts that attach to the transmission to the bellhousing.
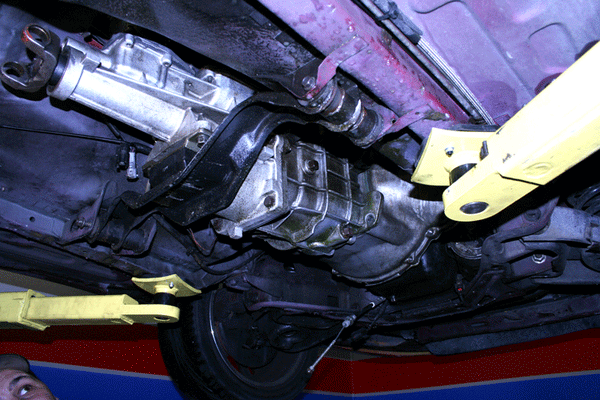
Make sure all the electrical connections to the transmission are disconnected. The transmission should be ready to come out now.
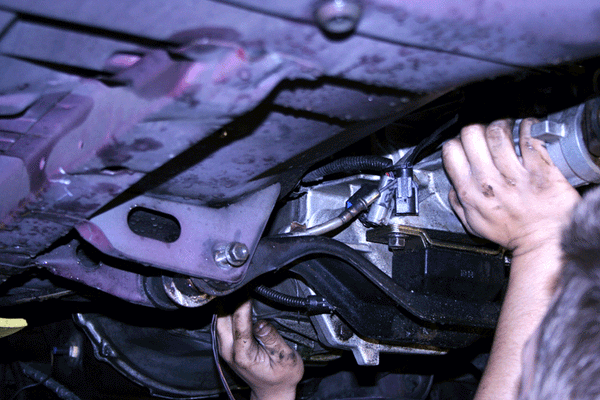
Support the transmission before pulling the cross member out, using either a jack, or a strong friend. Then, pull the cross member out.
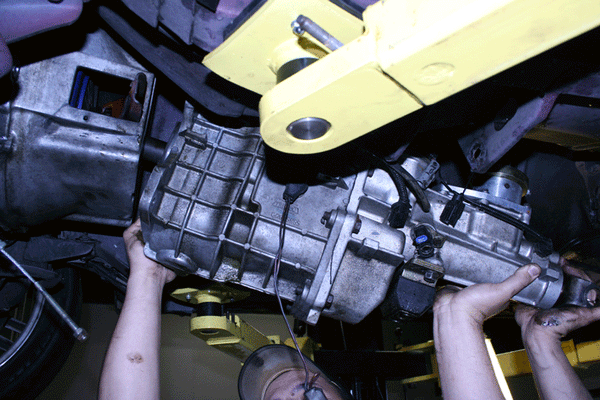
Remove the transmission.
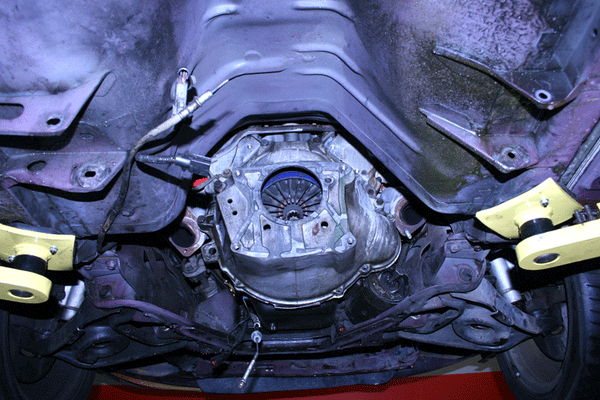
With the transmission out of the way, you can now see the bellhousing bolts.
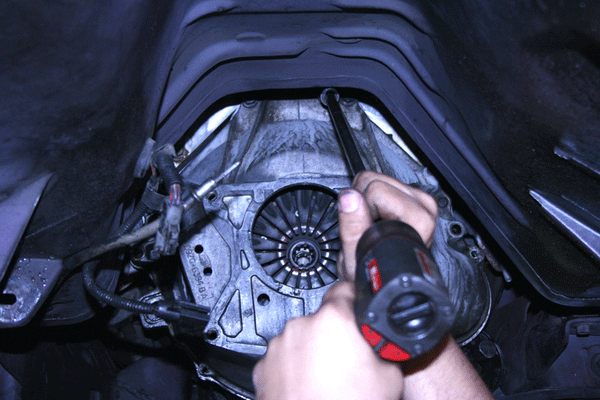
Remove all six bellhousing bolts.
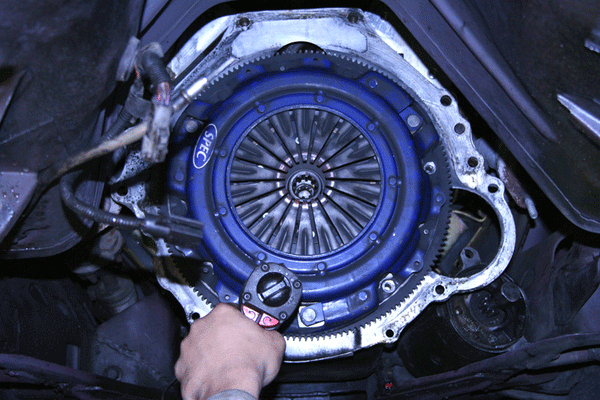
Remove the six pressure plate bolts.

Remove the clutch assembly; you may need to pry the clutch off the alignment dowels.
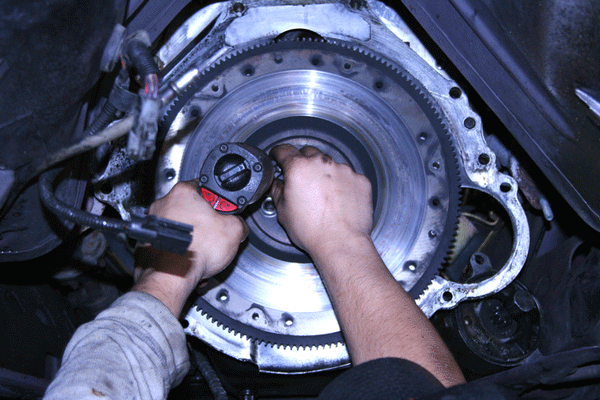
If you will be replacing or re-surfacing the flywheel, remove the six bolts holding the flywheel to the end of the crankshaft. Be careful; the flywheel is heavy. Re-surfacing is strongly recommended.
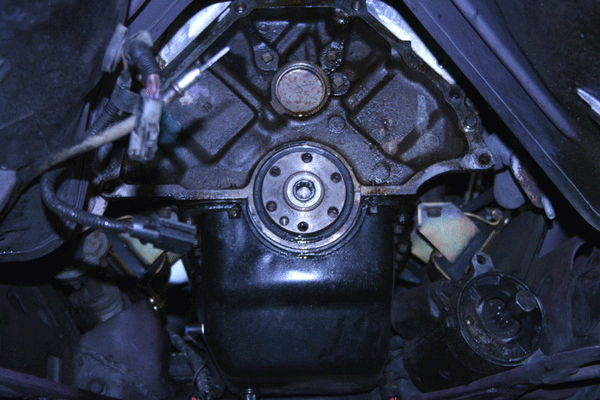
You can now see the back of the engine, and this would be a great time to replace a leaky rear-main seal or pilot bearing.
Find more Tech Tips like this in the book: FOX BODY MUSTANG RESTORATION 1979-1993
Learn everything you need to know about the Fox Body Mustang by getting your copy here!
SHARE THIS ARTICLE: Please feel free to share this article on Facebook, in forums, or with any clubs your participate in. You can copy and paste this link to share:
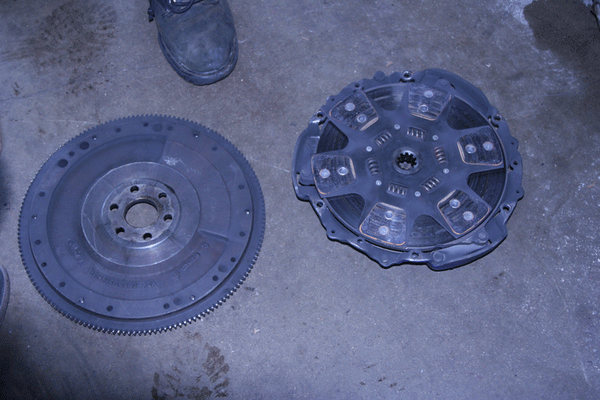
Here are the old flywheel and clutch that are being replaced.
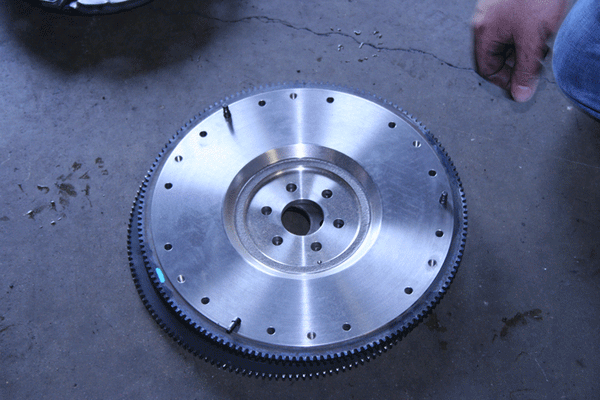
If you are replacing the flywheel, swap the dowel pins from the old flywheel to the new one.
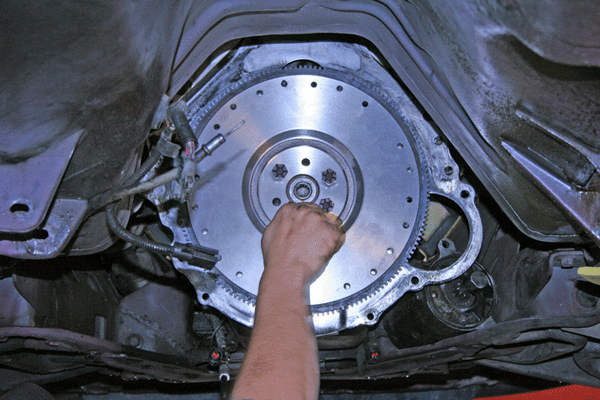
Using Loctite on the six bolts, reinstall the flywheel.
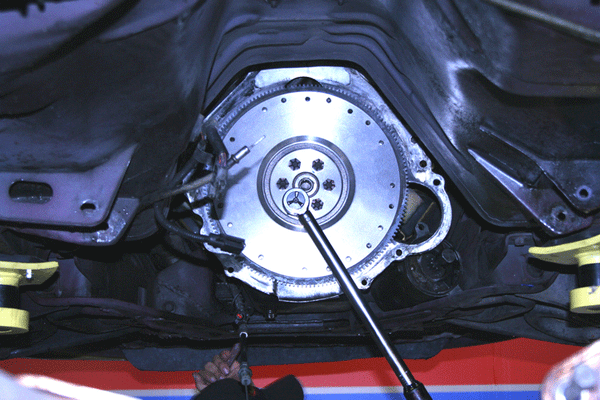
Torque the six bolts down to 55 ft-lbs. Tighten the bolts in a star-pattern sequence and make three passes, tightening them to one-third of the final torque value with each pass.

Clean the surface of the flywheel with brake cleaner to remove all oil, dirt, and dust.
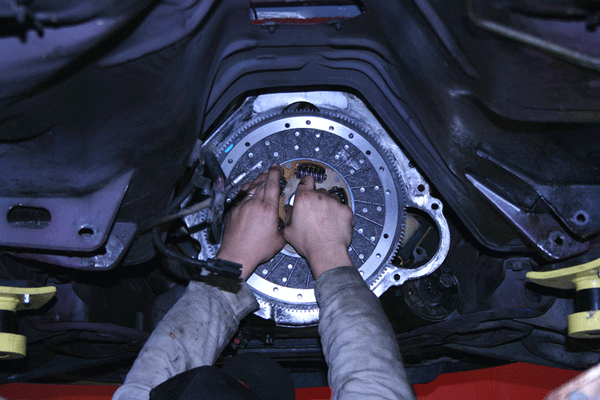
Install the clutch disk, using alignment tool that came with the clutch kit. Make sure the clutch is oriented correctly, with the flywheel side facing the flywheel.
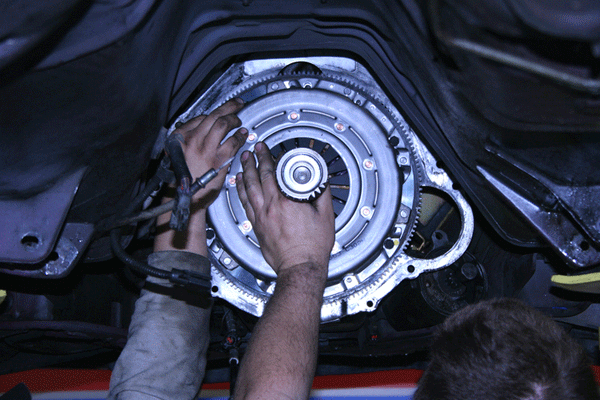
Using the clutch alignment tool (or an old input shaft, as shown here) keep the clutch aligned while attaching the pressure plate.
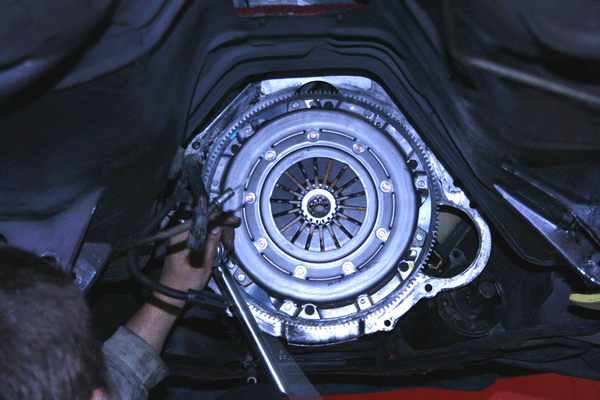
Torque the pressure plate bolts to 24 ft-lbs, again using Loctite on the bolts.
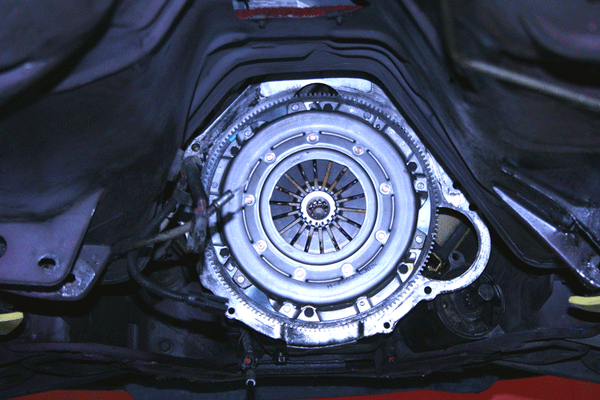
The clutch is now aligned and the pressure plate is bolted down.
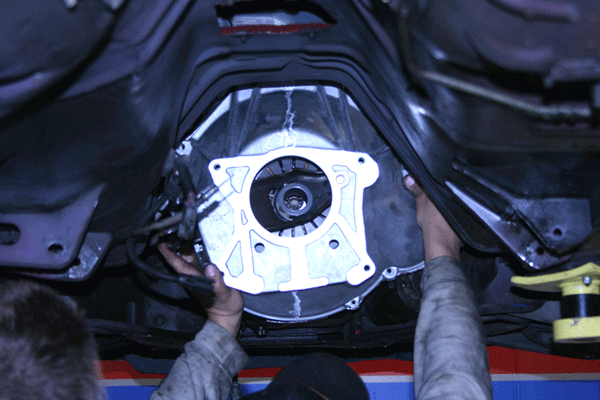
Reinstall the bellhousing. Make sure to install the new throw-out bearing (visible in the center of the hole in the bellhousing) on the clutch fork.
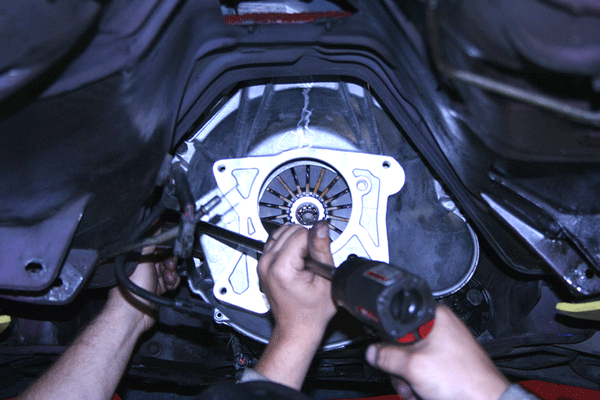
Tighten down the six bellhousing bolts.
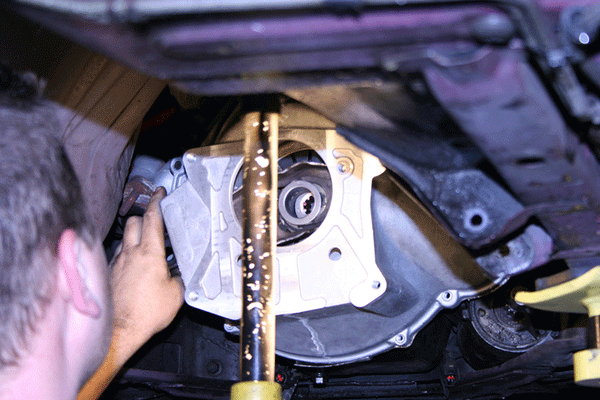
Align the clutch fork with the center of the clutch, with the new throw-out bearing in place.
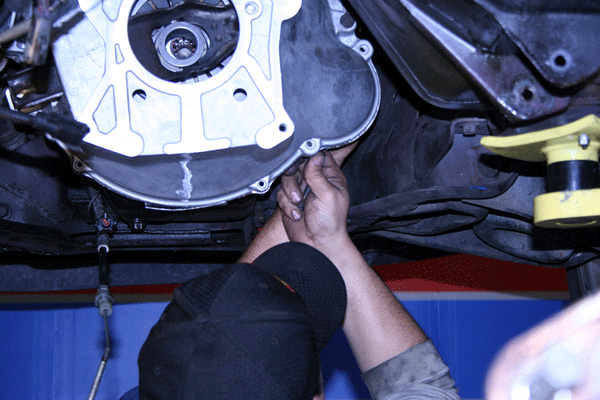
Reinstall the starter. It’s on the other side of that hump in the bellhousing in this photo.
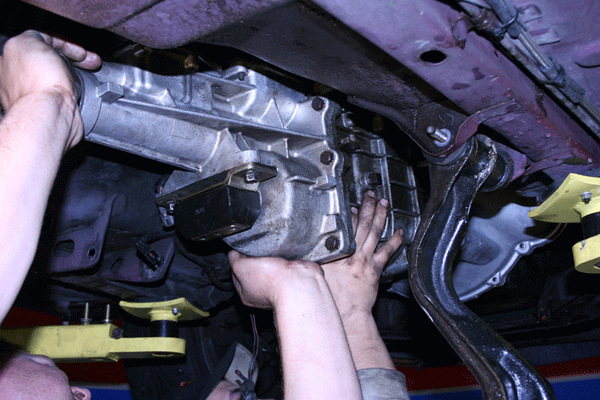
Reinstall the transmission. It may take a couple of attempts to align the throw-out bearing and the input shaft sleeves.
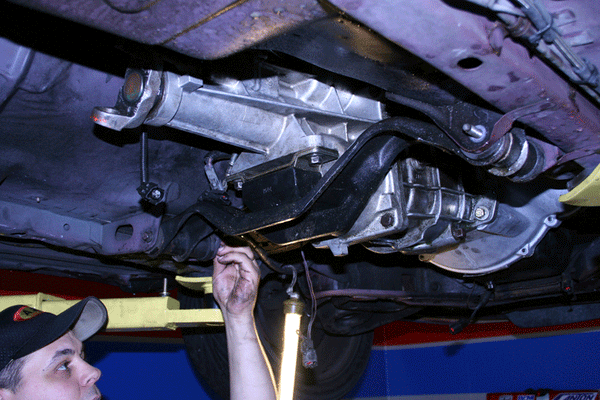
Reinstall the transmission crossmember and its hardware.

Reattach the transmission bolts to the bellhousing. Do not pull the transmission up to the bellhousing with the bolts--this may result in clutch damage.
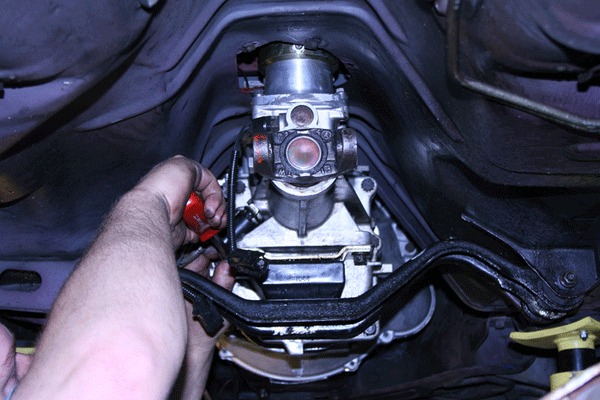
Reattach all the electrical connections and speedometer cable.
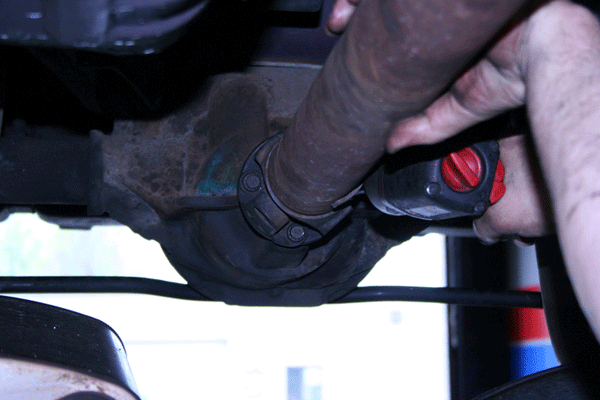
Reinstall the driveshaft.
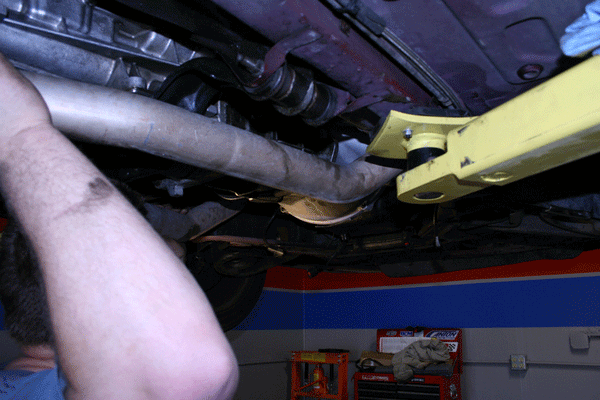
Reinstall the H-pipe.
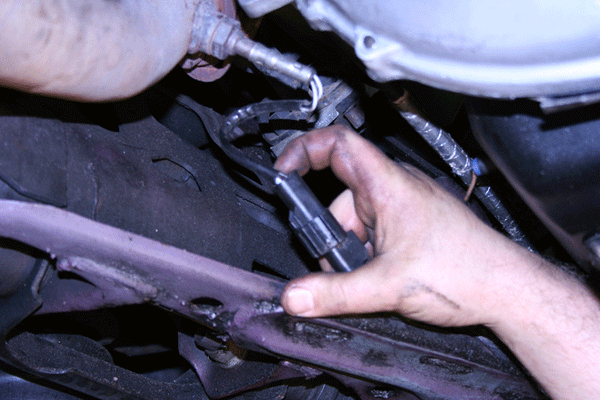
Reconnect the O2 sensor connectors.
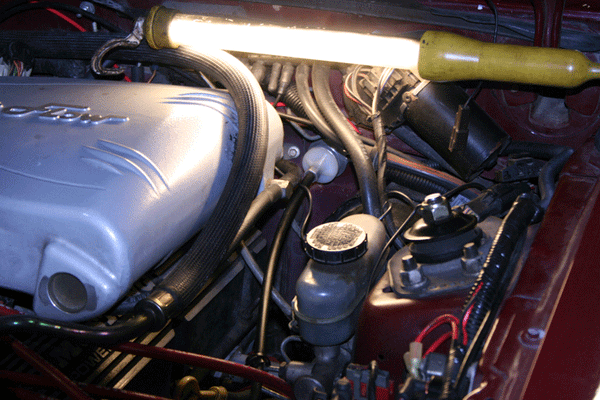
Reinstall the clutch cable and adjust it as necessary.
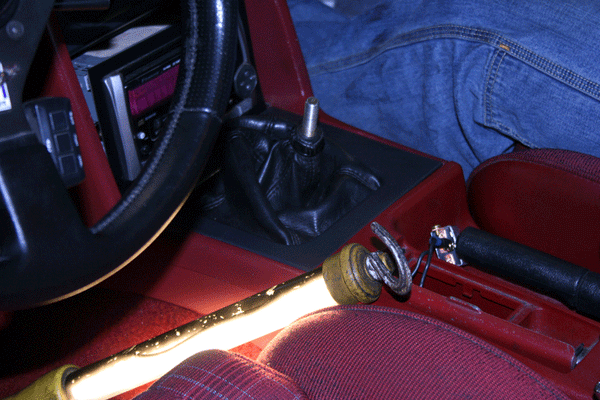
If the transmission was drained of fluid, fill it through the shifter hole, but first remove the shifter completely. Reinstall the shifter, plate, boot, and shift knob.
Written by Keith Long and posted with permission of CarTech Books
Click here to your copy.


